
Best Indoor Plant Pots for Healthy Plants: Complete Beginner Setup Guide
Valerie
Most houseplants do not die from bad care. They die from bad setup. The wrong pot holds too much moisture. The wrong drainage situation suffocates roots. The wrong watering system creates a feast-or-famine cycle that stresses plants even when you are doing everything else right.
This guide covers every pot type and accessory a beginner needs to get the setup right the first time — clear nursery pots, decorative cachepots, DIY wick systems, and built-in self watering planters. Choose the right setup for each plant and everything else gets easier.
The Right Pot Setup Is the Foundation of Every Healthy Houseplant
Before you worry about light schedules, fertilizer ratios, or soil mix — get the pot right. It is the single decision that affects every other part of how your plant grows.
The pot controls drainage. Drainage controls moisture levels. Moisture levels control whether roots get oxygen or sit in saturation. Every case of overwatering, root rot, and mystery decline that plant owners struggle with traces back to a pot and setup that was not matched to the plant's needs.
What the right pot setup actually does:
It removes the margin for error. A clear nursery pot inside a cachepot gives you drainage, root visibility, and style without compromise. A self watering system removes the guesswork from watering frequency entirely. The right setup does not just keep your plant alive — it creates the conditions for it to grow the way it is supposed to.
What the wrong pot setup costs you:
Compacted roots. Chronic overwatering. Fungus gnats. Stunted growth. Root rot that spreads before you can see it. And eventually — a plant you cannot save despite doing everything the internet told you to do.
The good news is that getting the setup right is not complicated or expensive. It just requires knowing what each option does and which plants it serves. That is exactly what this guide covers.
A good pot setup starts with essential ingredients

Clear Nursery Pots with Drainage Holes
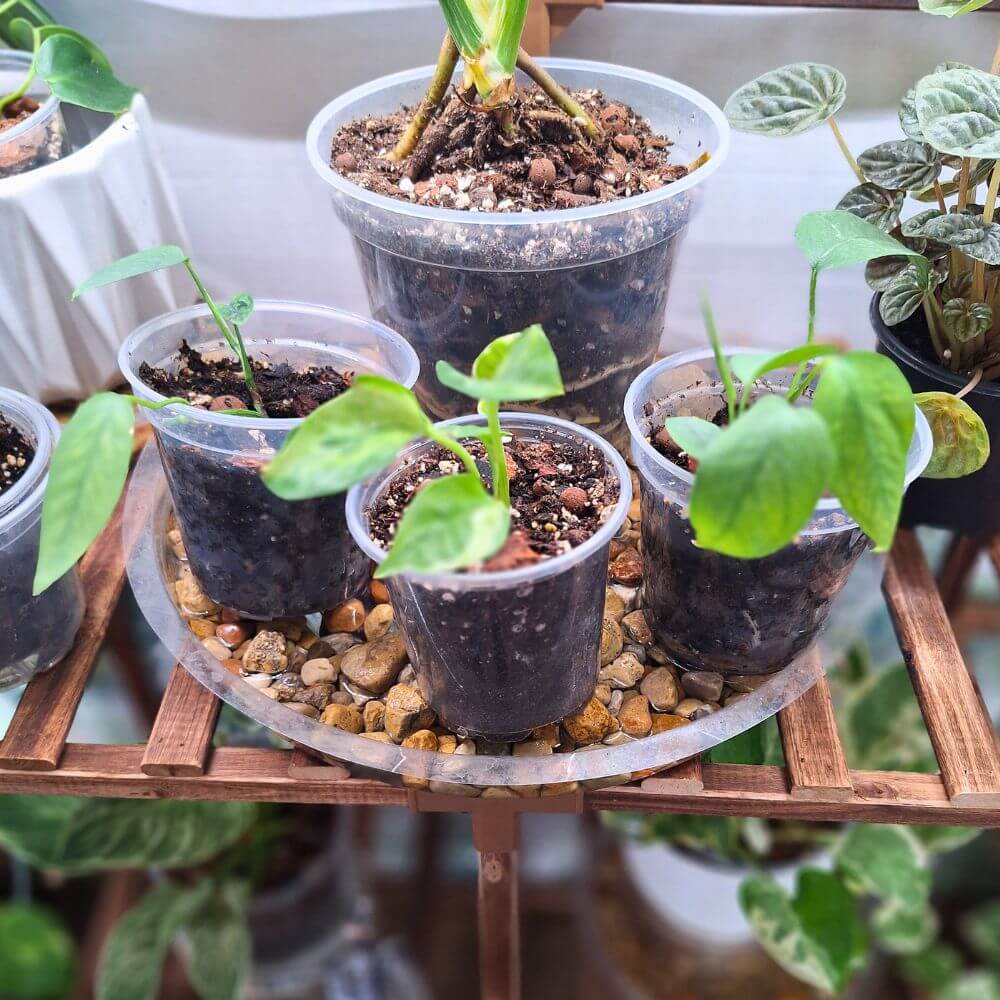
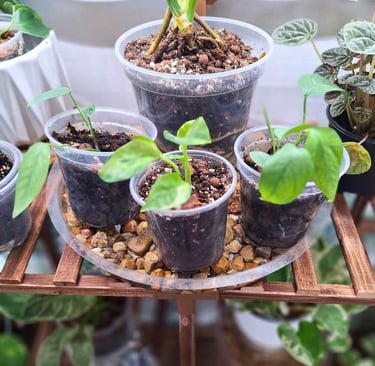
Clear nursery pots are the most functional pot option available for indoor plant care — and the most underrated. They are the baseline that every other pot decision should be built around.
What they are:
Thin, lightweight plastic pots with multiple drainage holes at the base. The clear walls let you see the root system, soil moisture level, and any signs of root rot or root binding without disturbing the plant.
Why they work:
Drainage holes are non-negotiable for most tropical houseplants. Without them water accumulates at the base of the pot, oxygen gets cut off from the roots, and rot sets in fast. Clear nursery pots solve drainage by design — water moves through freely every time you water.
The visibility factor is equally important. You can see when roots are circling the bottom and need repotting. You can see when the soil is still wet and does not need water yet. You can catch early root rot before it kills the plant. None of that is possible in an opaque pot.
When to use them:
Use a clear nursery pot as your primary growing pot for any tropical houseplant — Monstera, Pothos, Philodendron, Alocasia, Peace Lily, and similar species. Drop the nursery pot inside a decorative cachepot for style without sacrificing function.
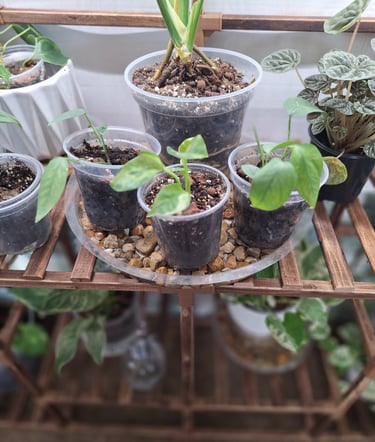
Best clear nursery pots: Look for sets with drainage holes on the sides as well as the base for maximum airflow. Opt for a size that gives roots about an inch of growing room beyond the current root ball.
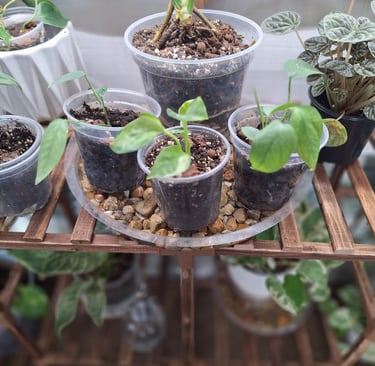
Best Clear Nursery Pots
A good pot won't fix the wrong soil-this is where everything starts.

Decorative Cache Pots & Outer Planters
A cachepot is a decorative outer pot with no drainage holes. It holds your clear nursery pot inside it, hiding the functional pot while protecting your surfaces from water and giving your space a clean, styled look.
What they are:
Ceramic, terracotta, woven, or resin containers used purely for aesthetics. The plant never actually grows in the cachepot — it sits inside it in its nursery pot.
How to use them properly:
Place your plant in its clear nursery pot. Set that pot inside the cachepot. Water the plant in the nursery pot and let it drain fully before placing it back in the cachepot. Never let water pool in the bottom of the cachepot — empty it after every watering. Standing water in the cachepot recreates the same drainage problem you solved by using a nursery pot in the first place.
The nursery pot plus cachepot system is the most practical setup for most plant owners. You get full drainage and root visibility when you need it, and full style all the time. Repotting is easier, root checks take seconds, and you can swap the cachepot out seasonally without touching the plant.
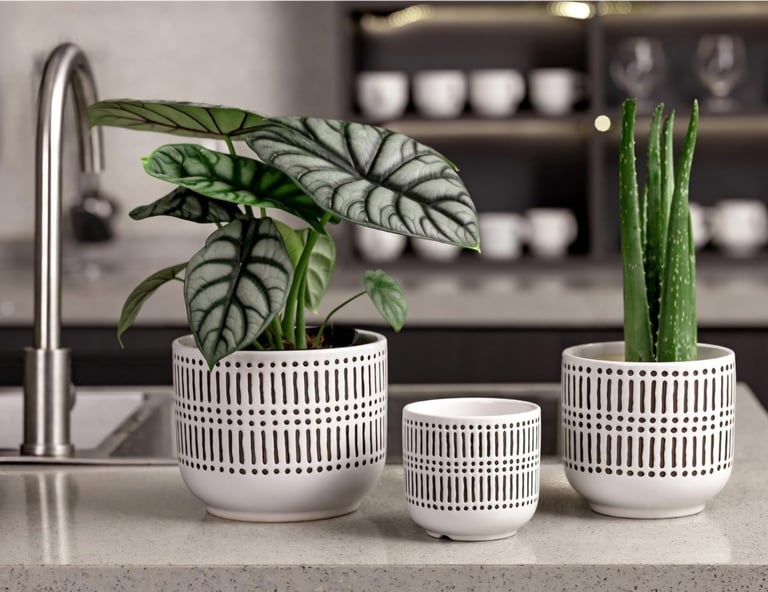
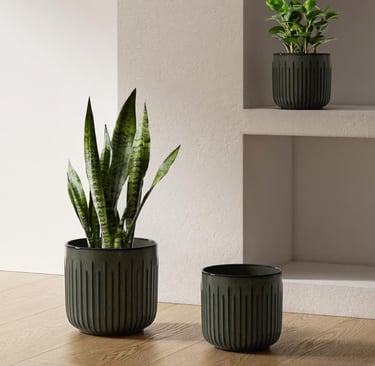
Soft neutral tones and subtle texture make this ceramic planter set an easy match for modern, cozy interiors. The drainage holes and multiple size options make them practical for everything from succulents to medium houseplants.
Best Budget Buy
Best Textured
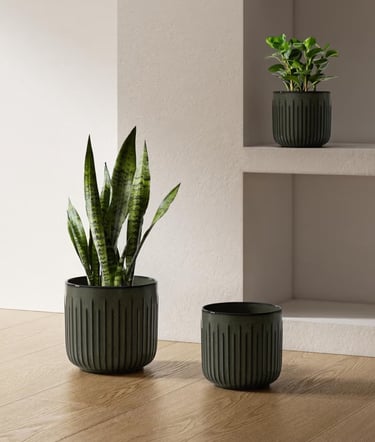
The soft vertical fluting gives these ceramic planters just enough texture to feel special without overpowering your plant. The slightly tapered shape keeps them looking balanced and intentional — especially for upright indoor plants like snake plants or ZZ plants.
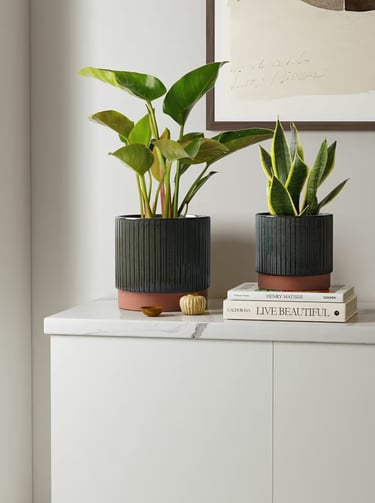
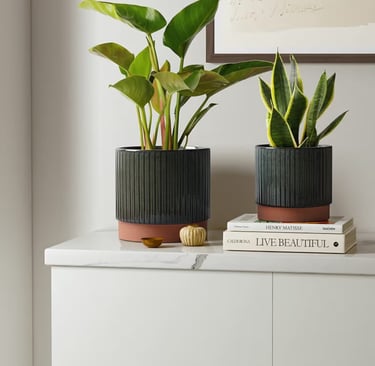
I love the way the natural wood base softens the darker ceramic glaze — it instantly warms up the whole look. With proper drainage and a sturdy feel, these indoor plant pots are practical for everyday houseplants but still feel styled and cozy.
Best Modern Pick
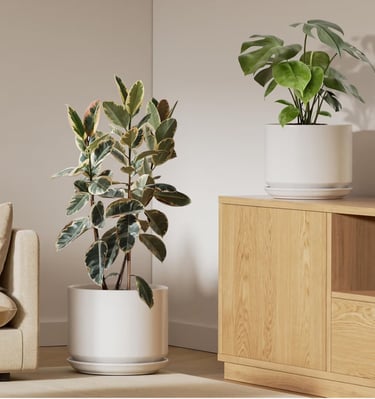
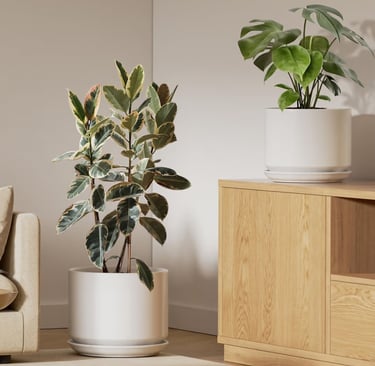
If you want a clean, minimalist look for larger indoor plants, this white ceramic set is a gorgeous upgrade. The simple silhouette complements modern home decor, and the larger sizes work well for monstera, rubber plants, and fiddle-leaf figs.
Best Large Minimalist Set
DIY Self-Watering Wick Systems: Low Cost, High Impact
A DIY wick system is one of the most effective low-cost upgrades you can make for plants that need consistent moisture — and one of the most forgiving setups for busy plant owners or anyone who has ever forgotten to water.
How wick systems work:
A cotton or nylon wick runs from a water reservoir up through the drainage hole of the pot and into the soil or growing medium. Water travels up the wick through capillary action — the same process plants use to move water from roots to leaves. The soil stays consistently moist without ever being flooded, and the plant draws moisture at its own pace.
When to use them:
Wick systems work best for moisture-loving plants like Pothos, Peace Lily, African Violets, and ferns. They are especially useful for plants in terracotta pots that dry out quickly, plants in bright or warm environments, and any plant you tend to forget to water on schedule.
Avoid wick systems for succulents, cacti, and drought-tolerant plants that need their soil to dry out completely between waterings.
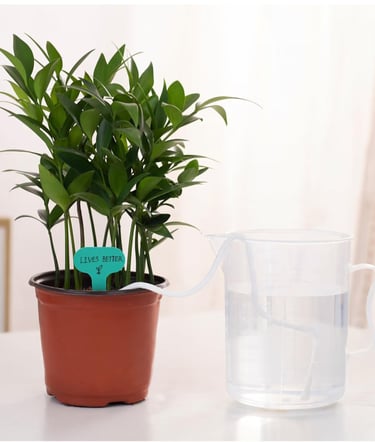
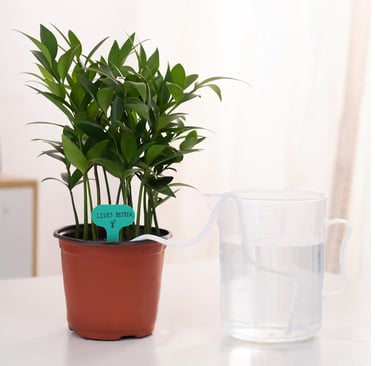
These 1/6th -inch (about 4mm) watering wicks fall into the medium thickness range, providing steady moisture without over saturating the soil. This is the size I use for most indoor plants in 4-8 inch pots.
Why Wick thickness is the Most Important Part of Your DIY System
Why Wick Thickness Is the Most Important Part of Your DIY System
The wick is the entire delivery mechanism of the system — and most beginners use the wrong one.
A wick that is too thin delivers moisture too slowly and the soil dries out between draws. A wick that is too thick delivers too much moisture too fast and keeps the root zone saturated, which defeats the purpose entirely.
The right wick for most houseplants: A braided cotton rope between 3mm and 5mm in diameter. This delivers a steady, moderate moisture flow that keeps soil consistently damp without waterlogging. For larger pots or thirstier plants, use two wicks rather than one thicker one — this gives you more even moisture distribution across the root zone.

Built-in self watering planters take the DIY wick concept and engineer it into the pot itself. A reservoir sits at the base of the planter, separated from the growing chamber by a platform. A wick or wicking column connects the two, drawing water up into the soil as the plant needs it.
How they work:
Fill the reservoir through a fill tube or opening on the side of the pot. The plant draws moisture up from the reservoir through the wicking system at its own pace. You refill the reservoir every one to three weeks depending on plant size, pot size, and environment — no daily or weekly watering checks required.
Pros:
Consistent moisture delivery, significantly reduced watering frequency, lower risk of overwatering, ideal for travel or irregular schedules, and cleaner windowsill and surface setup since there is no separate saucer or cachepot needed.
Cons:
Not suitable for plants that need to dry out between waterings. More expensive upfront than standard pots. Reservoir can develop algae if light reaches the water. Wicking components need occasional cleaning to prevent salt buildup.
Best budget buy: Look for self watering pots with a visible water level indicator so you always know when to refill without guessing.
Self-Watering Planters With Built-In Systems
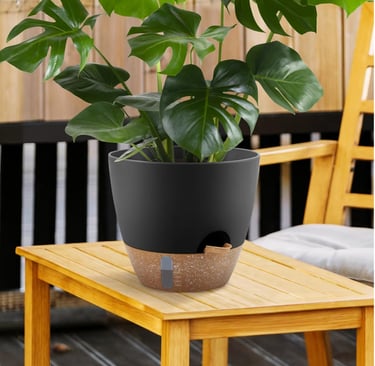
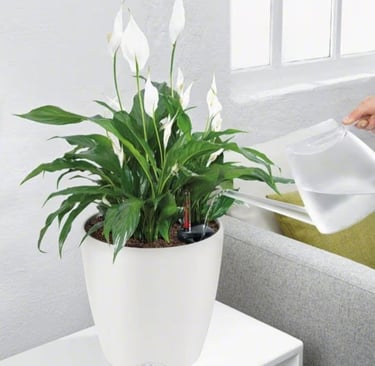
These self-watering planters take the stress out of watering — especially for larger houseplants. I love the clear water level window because you can check moisture at a glance without lifting or disturbing the plant.
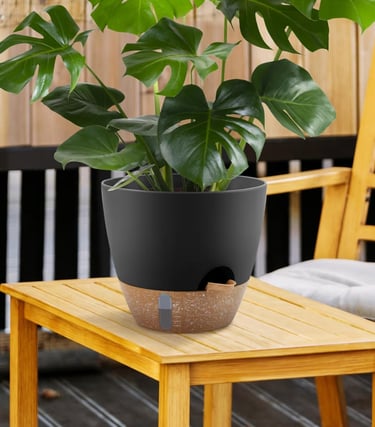
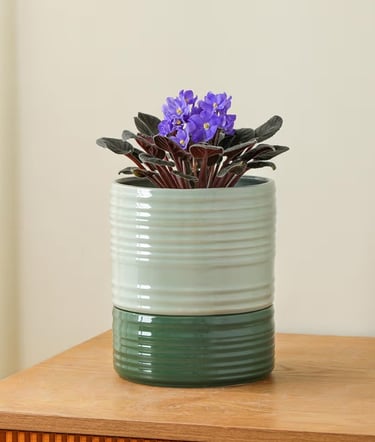
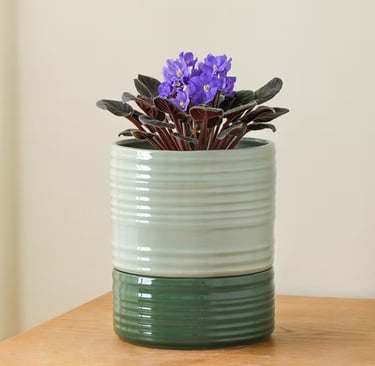
This 6-inch self-watering planter features a modern two-tone green finish that adds subtle depth while staying neutral enough for kitchens, desks, and plant shelves.
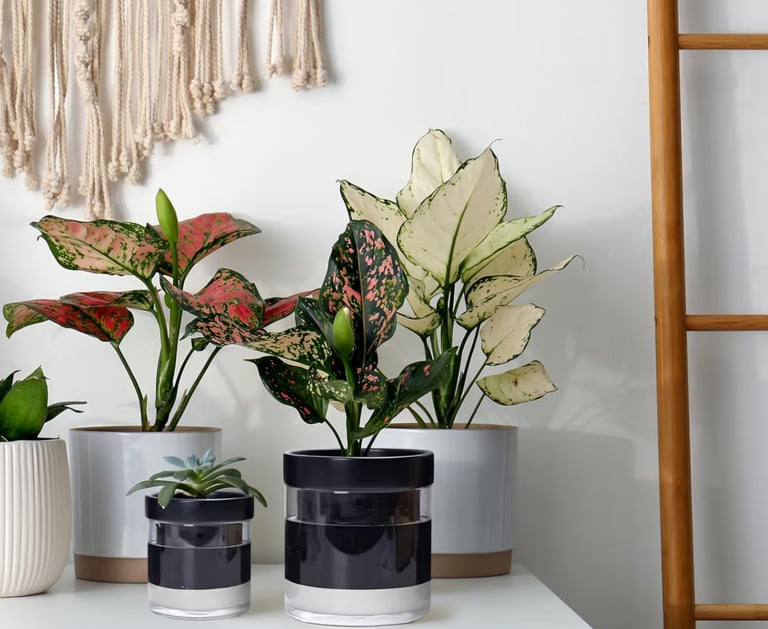
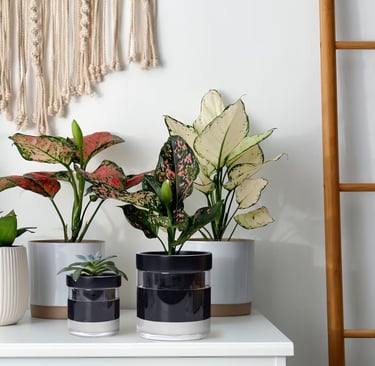
This black terracotta self-watering planter features a sleek matte upper pot paired with a transparent glass water reservoir, allowing you to monitor water levels at a glance. The terracotta interior helps regulate moisture naturally, while the reservoir base prevents over-watering.
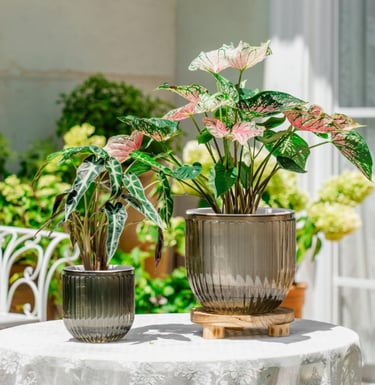
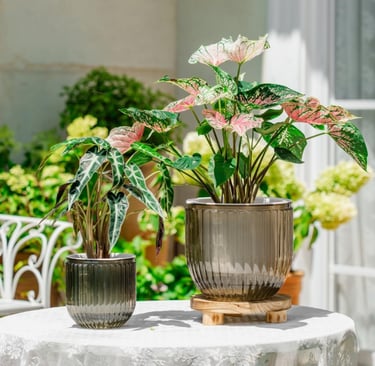
This adorable self-watering planter set includes 8.3-inch and 5.3-inch sizes, making it ideal for styling multiple indoor plants at once. Each pot features a built-in reservoir and drainage system to reduce over-watering while maintaining consistent soil moisture. The neutral light grey finish blends seamlessly into modern or minimalist interiors.
Best Budget Buy
Best Statement Size
Best Design Statement
Best Minimalist Set
Best Modern Ceramic
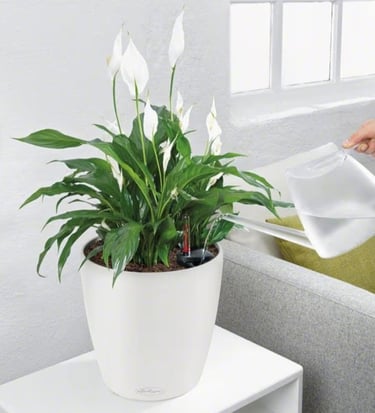
If you’re looking for a larger, long-term self-watering planter, this one is a solid upgrade. The removable inner liner and water level indicator make maintenance easy, and the larger reservoir is ideal for medium to bigger indoor plants that need more consistent moisture.
Always check whether a self watering planter allows the reservoir to dry out completely between refills. Some plants need a dry period at the root zone even in a self watering setup — if the reservoir is always full the plant never gets that rest.
Quick Tip

How to Fertilize Plants in Self Watering Planters Without Wrecking the System
Self watering planters make watering easier. They do not make fertilizing automatic. Get the feeding wrong in a closed reservoir system and you create salt buildup that blocks moisture wicking, burns roots, and slowly poisons the environment the planter was designed to protect.
Here is how to feed correctly and keep the system running clean.
Why fertilizer buildup is a bigger problem in self watering planters than in regular pots.
In a standard pot you water from the top and excess drains out the bottom, flushing dissolved minerals and fertilizer salts with it. In a self watering planter the reservoir recirculates. Water wicks up, the plant uses it, and the minerals left behind by evaporation and uptake accumulate in the soil and on the wicking column over time. There is no automatic flush. You have to do it manually.
The right fertilizer approach for self watering planters:
Use liquid fertilizer, not granular or slow release.
Granular and slow release fertilizers are designed to break down in soil over weeks or months. In a self watering system they dissolve unevenly into the reservoir, create unpredictable nutrient spikes, and accelerate salt accumulation. Liquid fertilizer gives you full control over concentration and is far easier to flush out when needed.
Dilute to half strength.
Nutrients in a self watering reservoir stay in contact with the root zone longer than in a top-watered pot. Full strength doses concentrate over time as water wicks up and leaves minerals behind. Start at half the recommended dose and adjust based on how the plant responds.
Add fertilizer to the reservoir, not the top of the soil.
This is how self watering planters are designed to be used. Adding liquid fertilizer directly to the fill tube or reservoir ensures it enters the system at the right point and wicks up evenly. Top watering fertilizer into a self watering planter bypasses the system and can create uneven distribution.
Feed every second or third reservoir refill during the growing season.
Not every refill needs fertilizer. Alternating plain water refills with fertilizer refills gives the system breathing room and slows salt accumulation. Skip fertilizer entirely during winter when most tropical houseplants slow down or stop growing.
Flush the entire system once a month.
This is the most important maintenance habit for any self watering planter. Once a month, water heavily from the top of the soil with plain pH-balanced water until it runs freely through the drainage holes if accessible, or fill and empty the reservoir two to three times with clean water. This dissolves and removes accumulated salts before they build up to damaging levels.
Signs salt buildup is already a problem:
White crusty residue on the soil surface, around the reservoir opening, or on the outside of the pot near the waterline. Brown crispy leaf tips despite consistent watering. Slower than normal wicking — the soil staying drier than usual even with a full reservoir. Any of these mean it is time to flush immediately and reduce fertilizer concentration going forward.

Q1. What type of pot is best for indoor plants?
The most functional setup for most indoor plants is a clear plastic nursery pot with drainage holes placed inside a decorative cachepot. The nursery pot provides essential drainage and root visibility. The cachepot provides style without compromising function. This combination works for the widest range of houseplants and gives you flexibility to repot, root-check, and style without disruption.
Q2. Do indoor plant pots need drainage holes?
Yes, for almost every tropical and moisture-sensitive houseplant. Without drainage holes water accumulates at the base of the pot, oxygen gets cut off from the roots, and root rot develops quickly. If you love the look of a pot without drainage holes, use it as a cachepot with a draining nursery pot inside rather than planting directly into it.
Q3. What is a cachepot and how do I use one?
A cachepot is a decorative outer pot with no drainage holes used to hold a planted nursery pot inside it. You water the plant in its nursery pot, let it drain fully, then place it back inside the cachepot. Always empty any water that collects in the cachepot after watering. Never let the nursery pot sit in standing water inside the cachepot.
Q4. How does a self watering planter work?
A self watering planter has a built-in water reservoir at the base separated from the soil by a platform and wicking system. Water moves from the reservoir up into the soil through capillary action as the plant draws moisture. You refill the reservoir every one to three weeks rather than watering from the top on a daily or weekly schedule.
Q5. Are self watering pots good for all houseplants?
No. Self watering pots work best for moisture-loving tropical plants like Pothos, Peace Lily, Philodendron, and ferns. They are not suitable for succulents, cacti, Snake Plants, or any plant that needs its soil to dry out completely between waterings. The consistent moisture delivery that benefits tropicals will cause root rot in drought-tolerant species.
Q6. What is a wick watering system for plants?
A wick watering system uses a cotton or nylon rope to draw water from a reservoir up into the soil through capillary action. It is a low-cost DIY alternative to built-in self watering planters. The wick sits in a water reservoir below or beside the pot with one end threaded through the drainage hole and into the soil. Water travels up continuously keeping the soil consistently moist.
Q7. What size pot does my indoor plant need?
Choose a pot that gives the root ball about one inch of growing space on all sides. Too large a pot holds excess soil that retains moisture the roots cannot access — this is one of the most common causes of overwatering and root rot in houseplants. When repotting, go up only one pot size at a time.
Q8. Should I use terracotta or plastic pots for indoor plants?
Terracotta is porous and pulls moisture away from the soil, making it ideal for plants that prefer to dry out between waterings — succulents, cacti, Snake Plants, and ZZ plants. Plastic retains moisture longer and works better for moisture-loving tropicals. Clear plastic nursery pots combine the moisture retention of plastic with the added benefit of root visibility.
Q9. How do I know when to repot my indoor plant?
Repot when roots are circling the bottom of the pot, escaping drainage holes, or when the soil dries out much faster than it used to. Other signs include stunted growth during the growing season, the pot feeling unusually light immediately after watering, or roots visibly pushing up through the soil surface. Move up one pot size at a time.
Q10. What plant care accessories do I actually need for indoor plant care?
The essentials are a clear nursery pot with drainage holes, a decorative cachepot, a moisture meter or your finger for soil checks, a watering can with a narrow spout for control, and a basic liquid fertilizer for the growing season. Everything else is optional. Start with the right pot setup and consistent watering habits — those two things solve the majority of indoor plant problems beginners face.
Q11. Can I use fertilizer in a self watering planter?
Yes, but use liquid fertilizer at half the recommended strength only. Add it directly to the reservoir rather than the top of the soil. Avoid granular or slow release fertilizers — these break down unevenly in a closed reservoir system and accelerate salt buildup that damages roots and blocks wicking.
Q12. Why is there white residue on my self watering planter?
White crust on the soil surface, pot rim, or reservoir area is salt and mineral buildup from fertilizer and tap water. It accumulates faster in self watering planters because the reservoir recirculates rather than flushing through. Flush the system immediately with plain water and reduce your fertilizer concentration. Switch to filtered or distilled water if tap water mineral content is high in your area.
Q13. How do I flush a self watering planter?
Once a month water heavily from the top of the soil with plain pH-balanced water, or fill and drain the reservoir two to three times with clean water. This dissolves and removes accumulated fertilizer salts before they reach damaging levels. Flushing is the single most important maintenance habit for keeping a self watering planter performing correctly long term.
Q14. How often should I fertilize plants in self watering planters?
Feed every second or third reservoir refill during the active growing season — spring through early fall. Do not fertilize every refill as this accelerates salt accumulation faster than monthly flushing can manage. Stop fertilizing entirely in winter when most tropical houseplants slow down and nutrient uptake drops significantly.
Frequently Asked Questions About Indoor Plant Pots & Self Watering Planters

Create a Reliable Indoor Plant Care Foundation
If your plant care feels inconsistent, your soil is often the starting point.
A balanced indoor soil mix gives you a stable foundation so watering becomes easier, roots stay healthy, and plants grow more predictably.
Instead of constantly adjusting your care routine, start with a mix that works with your environment.
Fix your plant setup + stay consistent →
Build a reliable plant system
Looking for a Chunkier Mix?
Not sure what mix is right for you?
Your soil mix is probably the problem


most potting mixes straight from the bag aren't cutting it. grab the free recipe guide and see exactly what your plants actually need.